W3 Total Cache is a powerful and free caching plugin for WordPress that can drastically reduce the loading time of your website. However, when trying to utilize it on the Cloudways Hosting platform, you need to be aware of some common configuration issues due to server-side caching solutions. Varnish, Redis, and Memcached are all at your disposal, and below is our recommended configuration for them to achieve optimal results. This guide walks you through the proper setup to utilize these server-side caching solutions with W3 Total Cache on Cloudways to ensure maximum performance without conflicts.
- Page Cache
- Database cache
- Object Cache
- Reverse Proxy (Varnish)
Page Caching
Why It Matters
Page caching will create a static HTML version of your WordPress page's and serve them from disk. Significantly reducing the load on your server and drastically improve the load times for your visitors.
Configuration Steps
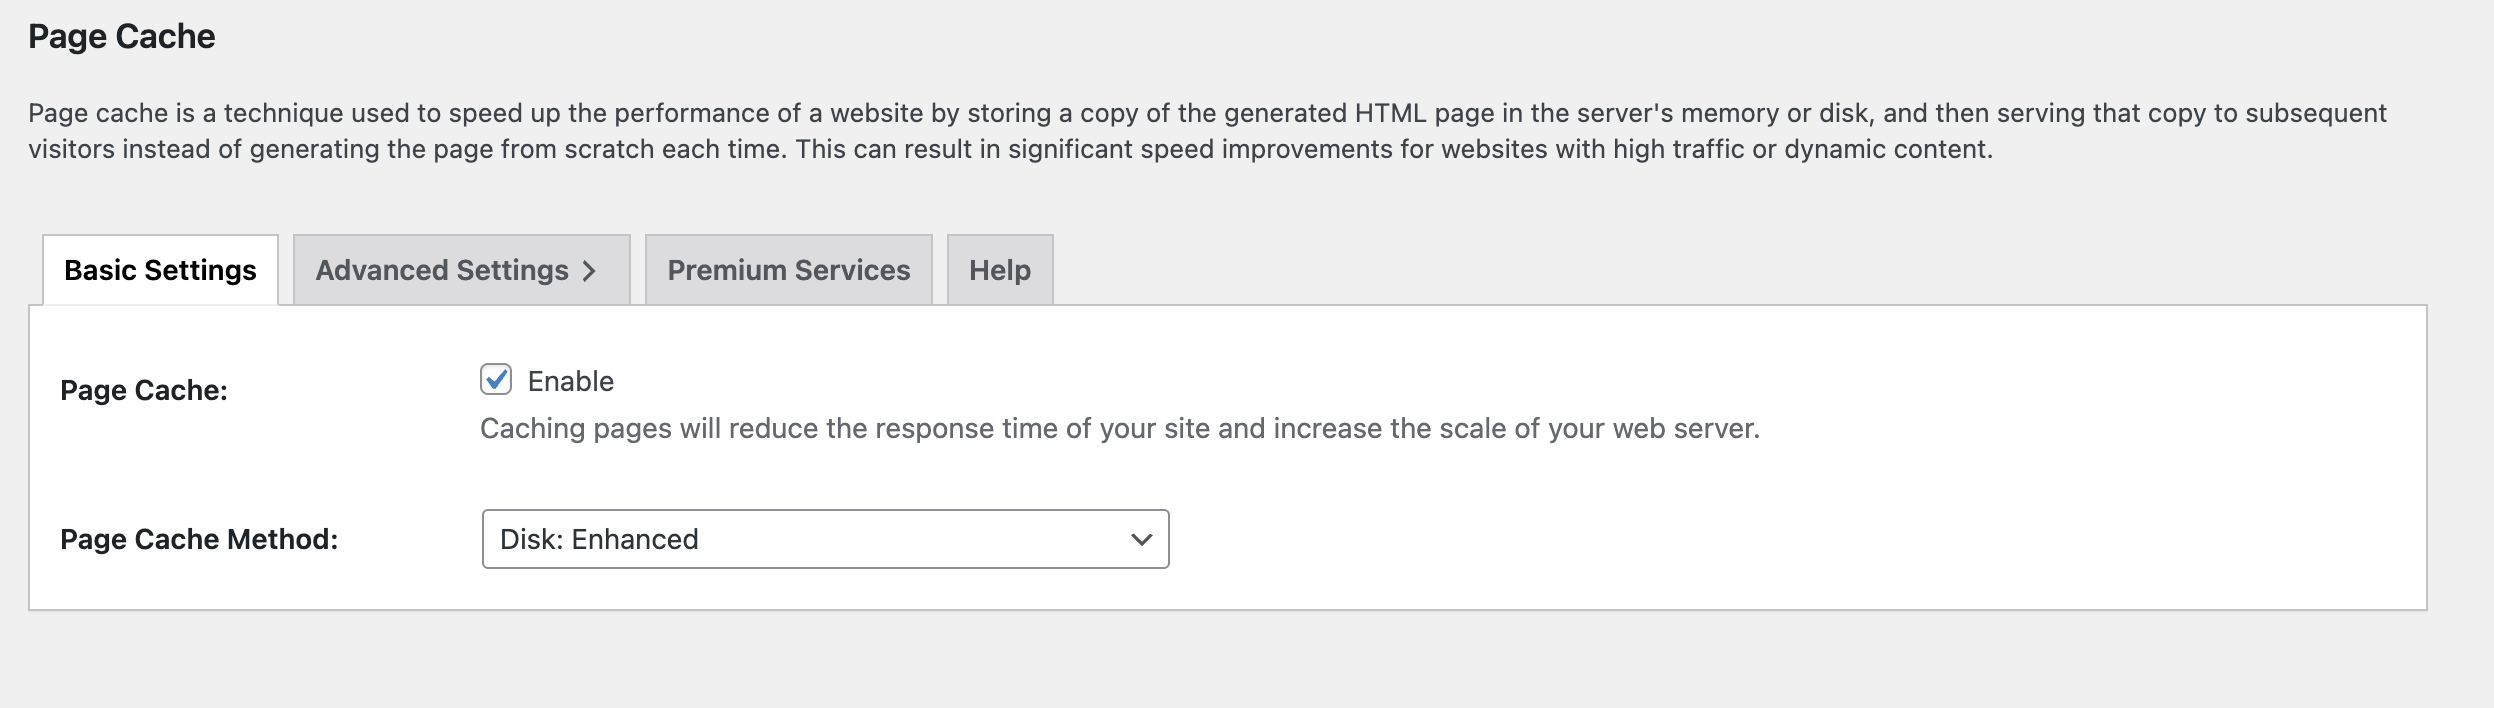
- Navigate to Performance > General Settings and scroll down to > Page Cache in your W3 Total Cache settings
- Enable the Page Cache option
- Select "Disk: Enhanced" as your caching method
- This method uses rewrites to serve static HTML files directly, bypassing PHP processing
- Save your settings
Benefits
By using disk caching, a static copy of your website is saved on the server if Varnish has been purged, or if that specific page is not available, your server can serve this file. The Enhanced method delivers better performance than basic disk caching by directly serving an HTML file through your web server rather than routing back through PHP.
Database Caching

Why It Matters
Database queries are often resource-intensive, particularly complex ones with solutions like WooCommerce. Caching these queries can improve server response times by storing them in memory while also reducing overall load.
Configuration Steps
- Go to Performance > Database Cache
- Enable the Database Cache option
- Select "Redis" as your Database Cache Method
- Enter the connection details (typically 127.0.0.1:6379)
- Set an appropriate cache lifetime (recommended: 3600 seconds)
- Save your settings
Important Note
You may receive a prompt about an object cache PHP drop-in needing to be removed. You should approve this removal since Cloudways includes Object Cache Pro by default. W3 Total Cache will handle the cache management without needing the default drop-in file.
Object Cache
Why It Matters
Object caching stores the results of a lot of complex operations, storing them in memory will drastically reduce the load time, particularly while signed into the website, and reduce overall server load.
Configuration Steps
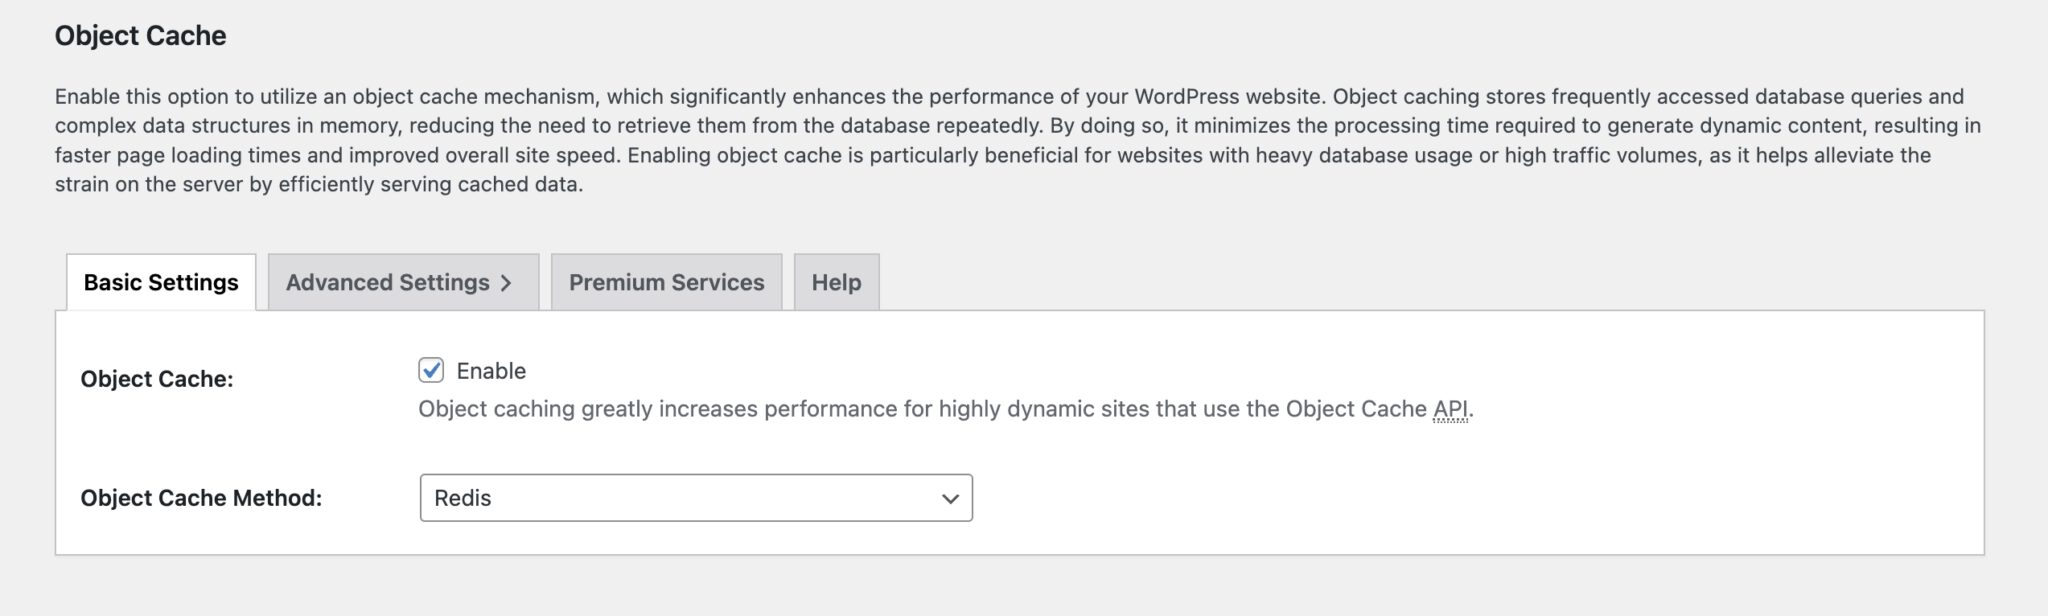
- Navigate to Performance > Object Cache
- Enable the Object Cache option
- Select "Redis" as your Object Cache Method (typically 127.0.0.1:6379)
- Configure the same connection settings used for Database Cache
- Save your settings
Warning
Never set Object Cache to use the disk as the storage method on Cloudways. This will cause significant issues with excessive inode generation and will decrease performance rather than improve it. Redis is the optimal solution for Cloudways environments.
Reverse Proxy
Why It Matters
Varnish is a powerful server-side cache that stores your pages in memory. Cloudways provides this caching method by default on all WordPress websites. Properly integrating W3 Total Cache with Varnish ensures cache purging works correctly when content is updated.
Configuration Steps
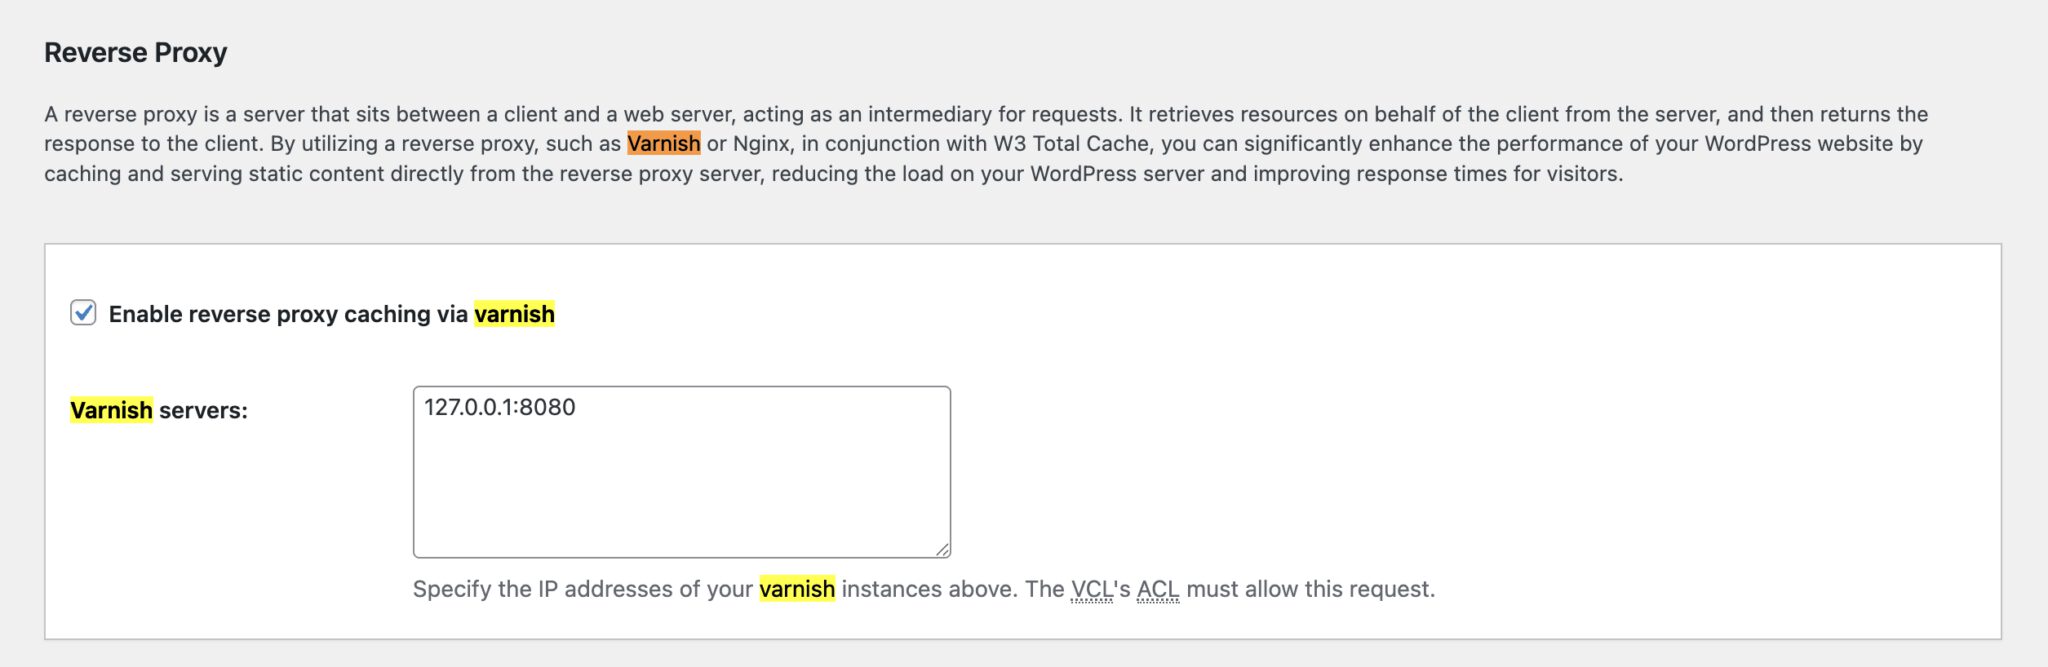
- Go to Performance > Reverse Proxy
- Enable the Reverse Proxy caching via Varnish option
- Enter 127.0.0.1:8080 in the Varnish servers field
- Save your settings
Verification
After configuring Varnish, test your site to ensure changes are being shown after clearing the cache. An easy way of doing this is to enable or disable a minify option in W3 Total Cache. If you clear all of the caches and it shows then you have it setup correctly!
To Summarize
Make sure that your Varnish Cache server is set to 127.0.0.1:8080 and that the server for Redis in your Object and Database caching is set to 127.0.0.1:6379.